 AtariVideoMusic.net
Hardware Modifications
Real, documented mods from the community — credited to the people who developed them, with links to their write-ups and every part you need to buy.
Before you solder: the C-240 runs on an ungrounded mains supply — read the power-on-first rule on the Setup page and the safety notes in the Restoration Center. All mods below are clearly modern additions; community convention is to keep them reversible and avoid cutting original traces. These machines are historical artifacts as well as instruments.
1. S-Video Output Mod
Credits: ctrl.alt.rees (Rees) — the definitive documented build, January 2022 — building on the composite-mod proof of concept published by Paul Rickards, who first mapped the signal tap points.
Why: the stock channel 3/4 RF output looks increasingly rough on modern displays, and some late flatscreens can't tune analog RF at all. Tapping the video signal before the RF modulator and bringing it out as S-Video gives a dramatically cleaner picture — sharp diamonds, stable color — and works with capture cards for streaming.
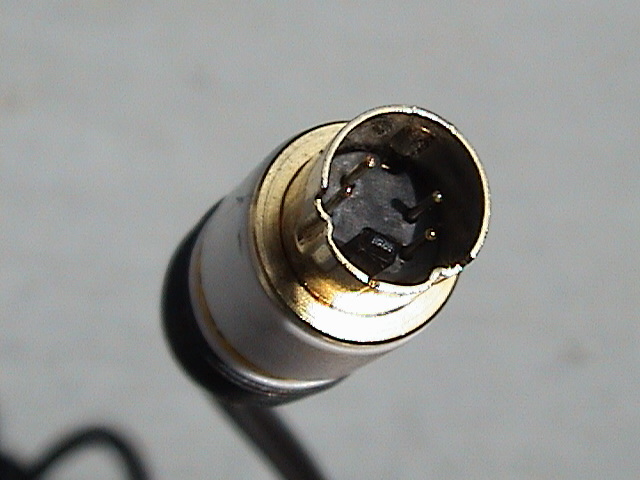
What's involved: the four metal links carrying the raw luma, chroma, and sync signals are desoldered and replaced with pin headers; the signals feed a small buffer circuit and exit through a panel-mount 4-pin mini-DIN jack on the rear. Rees's write-up and video walk through the exact tap points, the buffering, and drilling the jack cleanly.
Builder's tip — keep the RF alive: if you disconnect the RF modulator entirely, the S-Video colors come out weak and desaturated (Rickards documented exactly this on his first composite attempt). Leave the original metal links connected on the underside so the RF circuitry stays active — the color signal stabilizes and the output turns vivid.
Parts to buy:

2. 230V / PAL-Region Power Mod
Credit: ctrl.alt.rees (Rees) — documented in the same restoration write-up.
The C-240 was built for 108–130 V US mains (the transformer is molded into the line plug, per the original manual). For owners outside North America, Rees documents replacing the US supply with an internal transformer appropriate for 230 V mains — making the unit safely plug-and-play in the UK/EU without an external step-down converter. Combine it with the S-Video mod and a PAL-region owner gets a fully usable machine despite the NTSC-only RF output.
Parts to buy: an appropriately rated 230 V-primary transformer matching the original secondary voltages, fusing, and heat-shrink — specifics in Rees's article.
3. Full Recap (the Mod Every Unit Needs)
Credit: Console5 for the curated kit.
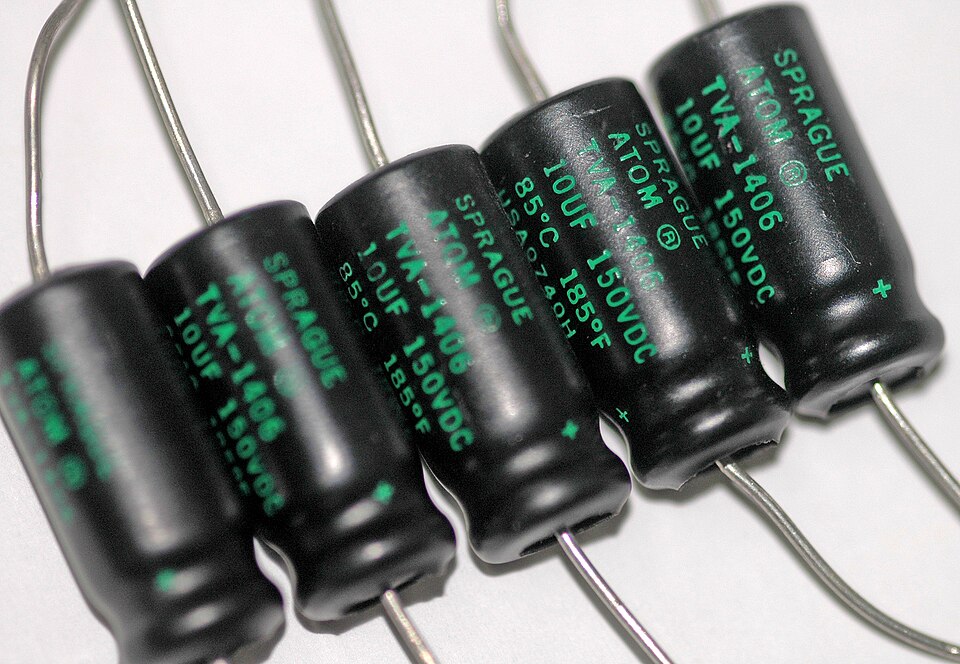
Less a mod than mandatory maintenance: every surviving C-240 is running on ~50-year-old electrolytic capacitors. Console5's dedicated axial cap kit matches every position on the board with high-temp parts from Nichicon, Rubycon, and Panasonic. Full procedure on our Restoration page.
4. Switch-Box Bypass (No-Solder Mod)
Credit: common community practice — the gateway mod anyone can do in thirty seconds.
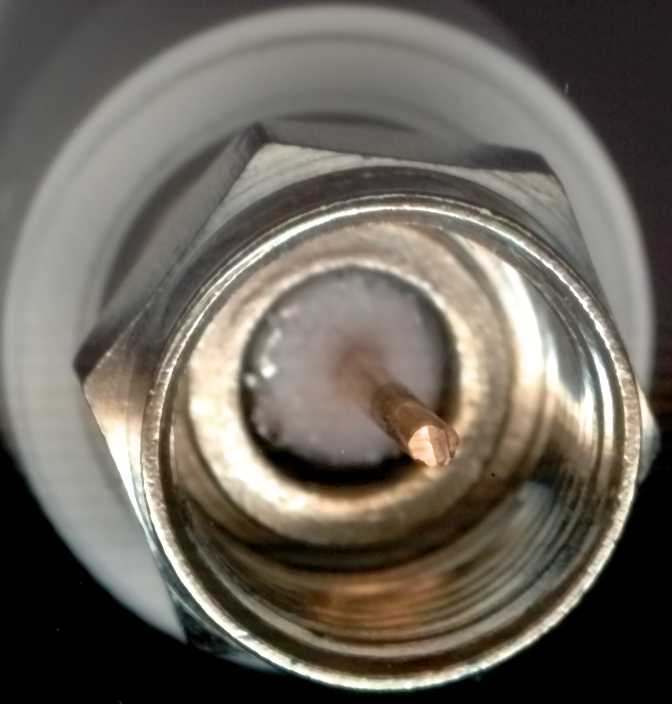
Ditch the 1977 adhesive switch box: run the unit's RF cable through an F-connector-to-coax adapter straight into the TV's antenna input. No soldering, no disassembly, fully reversible, and one less half-century-old part in the signal path. Full hookup instructions — including the mandatory power-on-first order and modern-TV channel scanning — are on the Setup page.
Parts to buy: an RCA-to-F or push-on F coax adapter (a few dollars at any electronics retailer or Amazon); a 75-to-300-ohm matching transformer if your CRT only has screw terminals.

5. Walnut Side-Panel Restoration
Credit: common community practice among cabinet restorers.
The original side panels are simulated-walnut laminate over particleboard — and after five decades, many are chipping, swelling, or crumbling. Restorers frequently replace them with hand-cut, varnished real walnut, which looks better than the factory ever did and is period-appropriate in spirit. Fully reversible if you keep the originals; measure twice, and match the factory screw positions so no new holes touch the chassis.
6. Internal Power Supply Upgrades
Credit: various restorers in the community; approach documented across AtariAge forums restoration threads.
Replacing the tired linear supply components (beyond just the caps) quiets hum bars and runs cooler. Some builders regulate the rails with modern parts while keeping the original transformer; the chip's +5 V/+12 V/−5 V rail targets are on the Hardware page. Label everything you change.
Essential Viewing Before You Open One
Ben Heckendorn's teardown shows the machine's guts end to end — the best orientation before attempting any of the above. Plays right here:
 ▶
▶
Ben Heck's Atari Video Music Teardown
Watch on YouTube ↗Built or documented a mod we're missing? Bring it to the Discord or subreddit with photos and a parts list — we'll add it here with full credit.